
Publish AI Edits From Lightroom: Workflow Tools for Pro Photographers
Workflow first advice for pro photographers: choose non destructive AI tools to cut culling and retouch time and publish AI edited selects straight from...

Publish AI Edits From Lightroom: Workflow Tools for Pro Photographers
AI tools speed common editing tasks and automate repetitive work while keeping final creative control with the photographer. The practical gains show up in object removal, intelligent masking, bulk culling, upscaling, and denoise, plus faster content repurposing for marketing using image to video AI tools. This guide walks through the core capabilities, how to evaluate tools without disrupting your pipeline, niche-specific workflows, and how to get AI-edited selects published once the editing is done.
TL;DR:
- AI tools excel at object removal, masking, and batch processing, which significantly reduce editing time on large photo sets.
- Non-destructive editing and precise mask control are essential features for safely integrating AI into professional workflows.
- Testing tools with representative images and verifying their compatibility with RAW files prevents artifacts and ensures consistent quality.
- AI automates repetitive tasks in portrait, product, landscape, and event photography, but manual judgment remains crucial for final touches.
- Publishing integrations like Lightroom Smart Folders streamline portfolio updates and client review processes, saving time and maintaining image provenance.
PhotoViewPublish Your Finished Work BeautifullyPhotoView helps photographers organize edited images, publish responsive portfolios, and keep website embeds updated from one dashboard.Visit PhotoView
Table of Contents
- Core AI capabilities photographers should know
- How to choose and evaluate AI tools for your workflow
- Practical workflows: portrait, product, landscape, event, and marketing use cases
- Integrating AI edits into publishing: PhotoView.io workflow examples
- The real trade-off: speed versus craft
- Why PhotoView.io fits right after your AI edit pass
- FAQ
- Sources
Core AI capabilities photographers should know
Most AI photography features fall into a handful of categories, and recognizing them helps you match a tool to an actual problem rather than chasing every new badge in a menu.
Generative removal handles distractions like power lines, photobombers, and reflections that traditional clone or heal tools struggle with on complex backgrounds. Adobe’s Generative Remove works non-destructively across Lightroom mobile, web, and desktop, and pairs with AI masking that isolates a subject, sky, or background in a couple of clicks. Adobe’s own announcement frames this as a Firefly-powered addition built to speed editing across the whole Lightroom ecosystem, alongside features like Lens Blur and Adaptive Profiles.
Beyond removal and masking, a few other categories matter for daily work:
- Upscaling and denoise recover detail in cropped or low-light frames without the soft, plasticky look older algorithms produced.
- Batch editing and auto-cull apply one adjustment or sort decision across hundreds of frames, which is where AI saves the most clock time.
- Duplicate detection and metadata automation clean up libraries so you spend less time scrolling through near-identical burst shots.
- Background replacement and scene extension (often called generative expand) let you widen a crop or swap a backdrop without reshooting.
Industry roundups of AI photo editors consistently point to upscaling, masking, and batch processing as the features photographers actually rely on, rather than pure image generation. That distinction is worth keeping in mind: a tool that generates whole scenes from text is solving a different problem than one that fixes a sky or removes a tourist from a landscape shot.
How to choose and evaluate AI tools for your workflow
Picking a tool based on a demo video is how photographers end up with three subscriptions and a messier workflow than before. A short checklist keeps the decision grounded in what you actually need.
- Confirm non-destructive editing. Your original files should stay untouched, with edits stored as instructions you can revert.
- Check mask control. Can you refine an AI-generated mask by hand, or is it all-or-nothing?
- Verify batch support. A tool that only edits one image at a time will not save you meaningful hours on a 500-photo wedding set.
- Test file-format compatibility. RAW support varies, and some AI features only activate on JPEG exports.
- Review privacy and licensing terms. Before using a tool on client work, confirm how it trains its models and what commercial-use rights you retain.
- Check integration options. Native Lightroom or Photoshop plugins save far more time than round-tripping files through a browser tab.
Quality testing matters as much as the feature list. Run the same representative image through two tools and compare artifact risk, color fidelity, and upscaling accuracy at full resolution, not just in a thumbnail preview. Industry reviews note that tool strength often depends on the job: one editor might excel at generative fill while another leads at bulk product photo automation, so matching the tool to your dominant task matters more than chasing an all-in-one.
Pro Tip: Run a three-asset trial before committing to any paid plan: one portrait, one product shot, one landscape. Time each edit and compare the output against your manual baseline so the decision is based on your images, not a marketing reel.
Practical workflows: portrait, product, landscape, event, and marketing use cases
The right AI step depends on the shoot type. These short sequences show where automation earns its place and where your judgment still drives the result.
Portrait workflow: select the subject with AI masking, apply subtle skin retouching, pop the eyes and teeth with targeted adjustments, then match color across the set before export. Our guide on editing portrait photos in Lightroom walks through a similar sequence in more detail.
Product workflow: batch-remove backgrounds across the full catalog, normalize white balance, generate consistent shadows, and export to template sizes for your e-commerce platform. This is one of the clearest time savings available, since the steps are nearly identical across every item.

Landscape workflow: apply HDR optimization for dynamic range, use sky replacement sparingly, extend a crop with generative expand when the composition needs more width, then finish with careful sharpening and upscaling that preserves texture rather than smoothing it away.
Event and wedding workflow: run auto-cull first to separate keepers from near-duplicates, apply a batch color preset across the set, then reach for generative removal only on hero images where a crowd or photobomber would otherwise ruin the shot. Our wildlife culling and editing workflow covers the same culling logic for high-volume shoots.
Marketing workflow: generate captions, create platform-specific crops, and batch-resize a gallery into templates sized for Instagram, a website hero, and a print catalog in one pass.
| Niche | Primary AI step | What it replaces |
|---|---|---|
| Portrait | AI subject masking | Manual lasso selection |
| Product | Batch background removal | Per-image clipping path |
| Landscape | Generative expand | Reshoot for a wider frame |
| Event | Auto-cull and duplicate detection | Manual sorting of thousands of frames |
| Marketing | Caption and template generation | Writing copy for each platform by hand |
Integrating AI edits into publishing: PhotoView.io workflow examples
Editing is only half the job. Once your selects are retouched, they need to reach a client or an audience without extra rebuilding work, and that is where publishing habits matter as much as the edit itself.
- Keep your originals untouched and publish only final selects to your portfolio, so a mask error or an overcooked retouch never overwrites the source file.
- Use Lightroom publishing and Smart Folders to sync an edited collection straight to a live gallery without manually re-uploading each export.
- Set up private, selective galleries for client review after AI-assisted retouching, so feedback happens on the exact frames you intend to deliver.
- Smart Folders and live embeds cut the administrative overhead of updating a site by hand, which means more of your week goes back to shooting rather than managing your workflow. Our breakdown of Smart Folders and automatic portfolio updates shows the mechanics in practice.
The real trade-off: speed versus craft
Treat AI as a productivity layer, not a substitute for judgment. It earns its place on culling, background work, and the repetitive 80% of any shoot, but your signature images, the ones a client will remember, still deserve a manual pass.
Training a personal AI profile from your own edited work, as Aftershoot’s guidance on profile training describes, keeps batch output closer to your actual style than a generic one-click auto-edit. For commercial or editorial work, document which edits were AI-assisted. Provenance is becoming part of how clients and publications evaluate trust, not an afterthought.
— Mitch Russo
Why PhotoView.io fits right after your AI edit pass
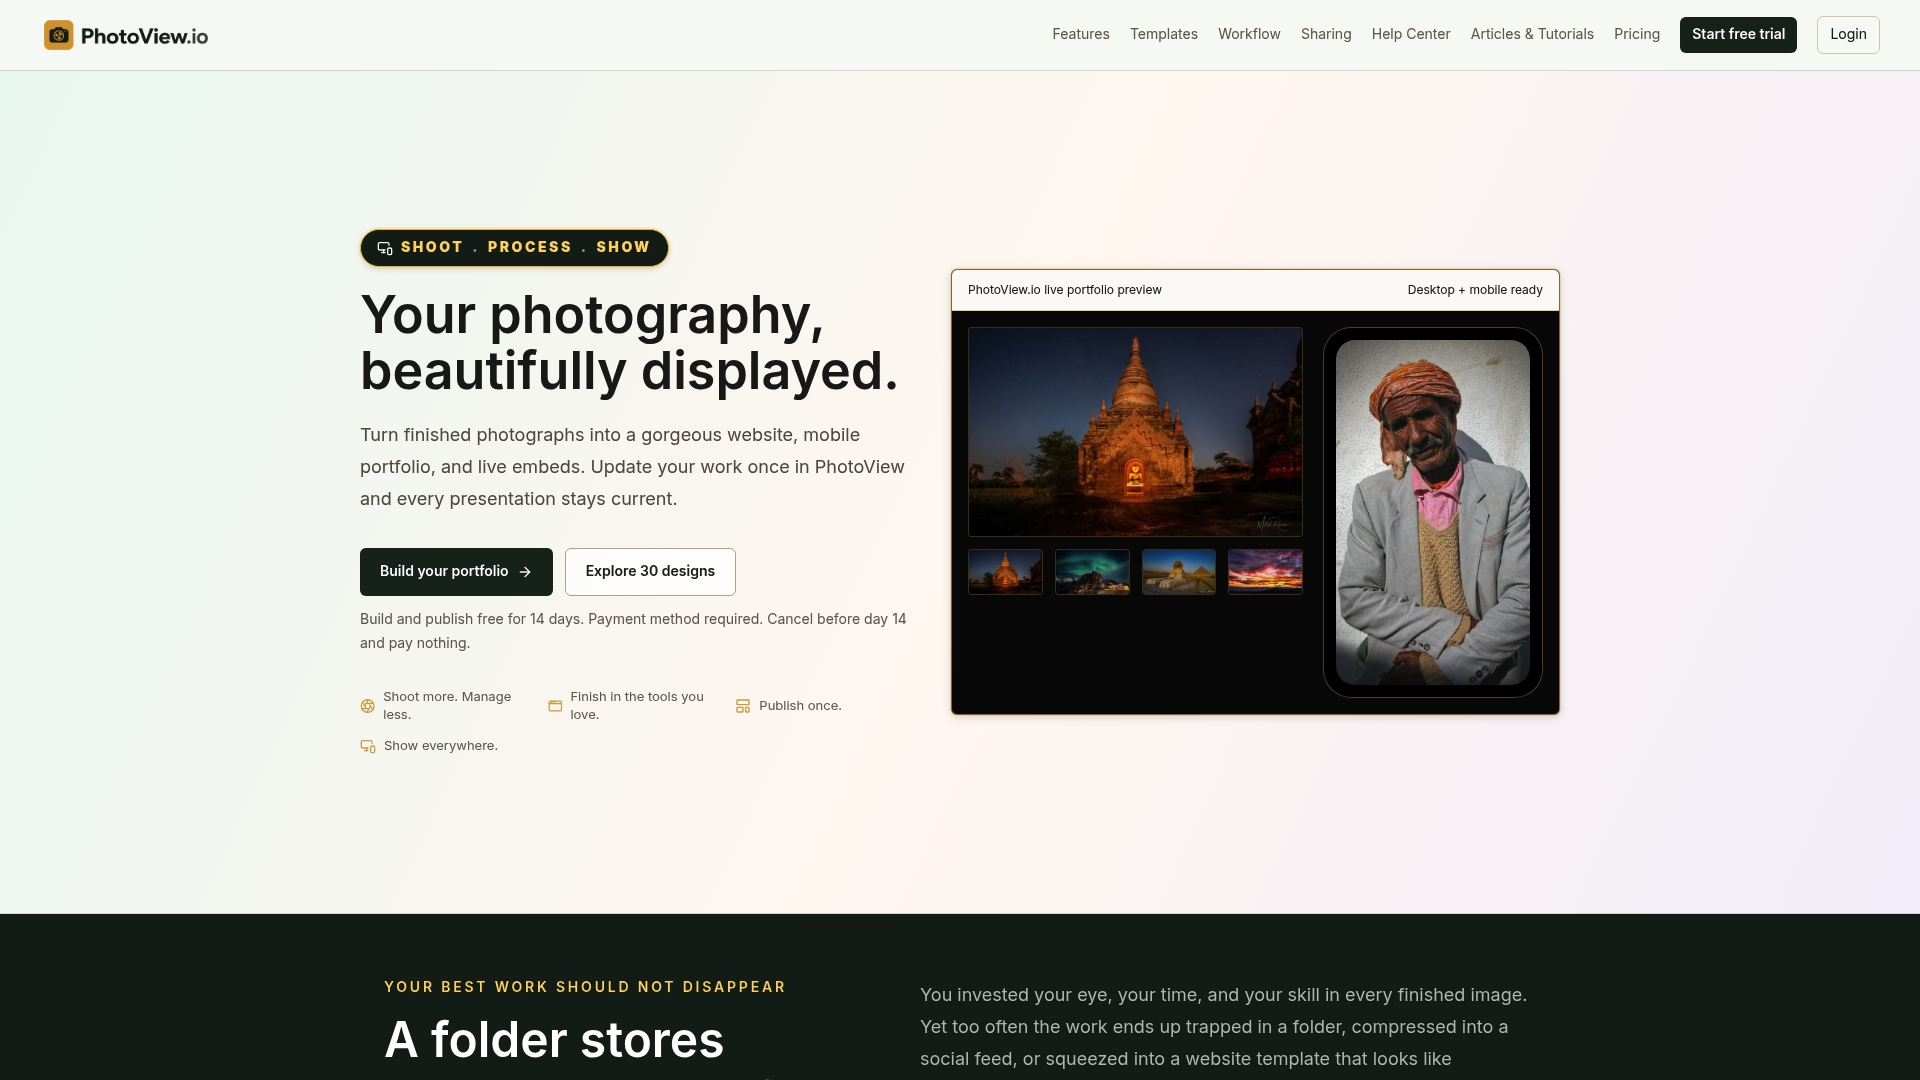
Once your AI-assisted selects are ready, Photoview publishes them without asking you to rebuild a website around every new gallery. Lightroom publishing pushes your finished edits straight into a live portfolio, Smart Folders keep collections current automatically, and mobile-ready templates mean the work looks sharp wherever a client opens it.
- Publish directly from Lightroom and skip manual re-uploads for every edited set.
- Keep private galleries for client review before anything goes public.
- Use responsive templates so retouched portraits and product shots display correctly on any device.
See the Lightroom publishing solution or start building your gallery on Photoview today.
FAQ
Can ChatGPT edit photos for free?
ChatGPT can perform basic conversational image edits through its integration with Photoshop, letting users try certain features via step-by-step prompts. Full editing control, batch work, and RAW support still require a native app like Lightroom or Photoshop.
What do photographers use AI for?
Photographers mainly use AI for object removal, subject and sky masking, upscaling, denoise, batch culling, and marketing tasks like caption writing and platform-specific resizing. These tools handle repetitive work so photographers can spend more time on composition, client sessions, and final creative passes.
What is the best AI app for photography?
There is no single best app since the right choice depends on the task: some tools lead on generative fill and object removal, while others specialize in bulk product-photo automation or personal style training. Evaluate based on your dominant workload, such as portraits, product catalogs, or event culling, rather than a generic feature list.
How do I AI my photographs?
Start by identifying the repetitive step costing you the most time, such as culling a large event set or removing backgrounds from product shots, and apply an AI feature built for that specific task. Test on a small representative batch first to confirm quality before rolling it out across a full client delivery.
Sources
- Remove objects with Generative Remove (Lightroom help)
- Adobe unveils Firefly-powered Generative Remove in Lightroom for fast and easy AI-editing across surfaces
- The best AI photo editors
- What images to use when training a professional AI profile (Aftershoot support)