
Set Your Website Name, Logo, and Brand Identity
Create a clear public identity using your photographer name, optional logo, colors, typography, and navigation labels.
What you’ll accomplish
You will create a consistent website header that identifies you without competing with your photographs.
Before you begin
- Choose the exact public name visitors should remember.
- If you will use a logo, prepare a clean transparent PNG and keep a text-only fallback in mind.
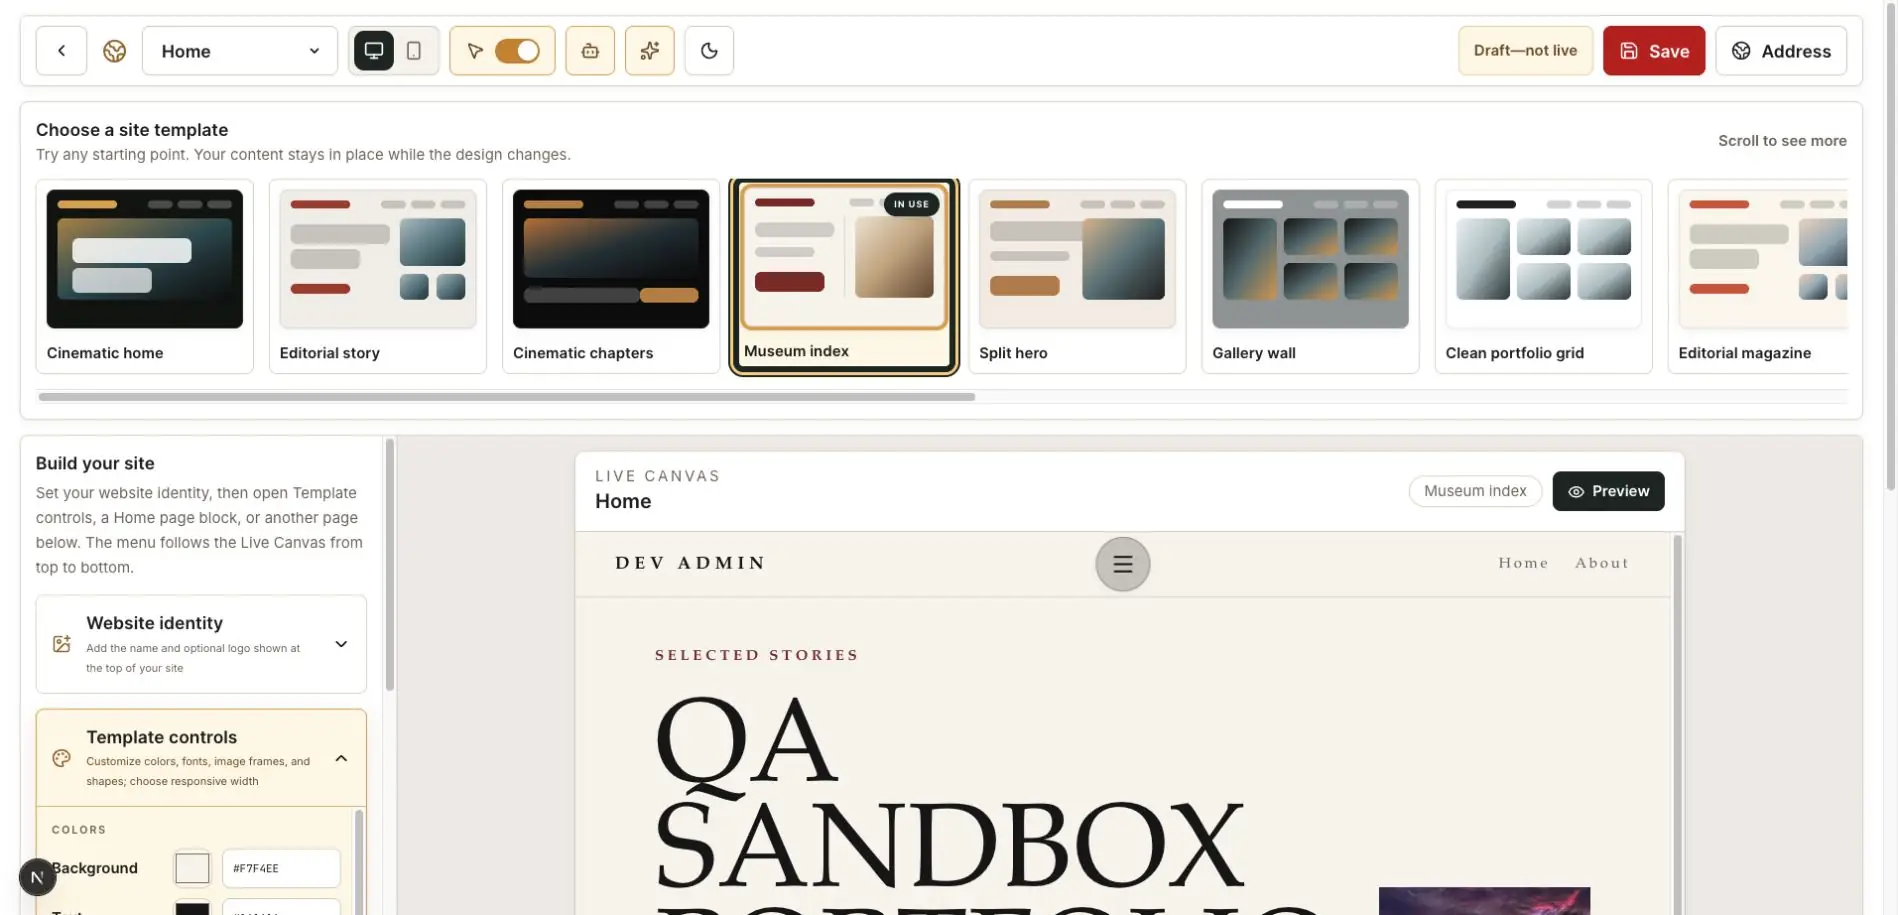
Open Website identity
Open My Website, choose Home, and expand Website identity in the left panel.
Enter the public photographer or studio name exactly as you want visitors to see it.
Add an optional logo
Upload a clean logo with enough contrast for the chosen header. A transparent PNG works well for most marks.
Preview the result at desktop and mobile sizes. If the logo becomes unreadable when small, use the text identity instead.
Choose supporting typography and colors
Open Template controls to choose the type and color treatment. Use one strong display choice and a highly readable body treatment.
Choose a solid background or upload background images to the reusable background library. Switching to a color does not delete the saved images, so you can return to them later without uploading again.
Check text over photographs as well as text on the page background.
Keep navigation labels short
Use familiar labels such as Home, About, Portfolios, Stories, and Contact. Short labels fit more reliably on phones.
Your identity and navigation should make the site understandable within a few seconds.
Save and review the complete header
Save the draft, open Preview, and visit more than one page. Confirm that the name, logo, navigation, and colors remain consistent.
Finish with this checklist
- Your name or logo is readable against every header treatment.
- Typography and colors are consistent across more than one page.
- Navigation labels are short and understandable on a phone.
- The identity supports the photography instead of overpowering it.