
Photography Media Kits: Six Pages, a Copyable Sheet and Live Hosting
Build a photography media kit with six essential pages, template advice, a one page checklist ready to copy, and hosting options for photos and video.

Photography Media Kits: Six Pages, a Copyable Sheet and Live Hosting
A photography media kit is a short, client-ready document that shows your best work, your offerings, and your rates in one place so brands and clients can decide fast. The immediate step is to assemble the essential pages below, then choose a format, whether a simple PDF or a modern hosted presentation, that keeps your kit current without rebuilding it every time your portfolio changes.
TL;DR:
- Include a cover, short bio, eight to twelve images captioned by use, an offerings page, licensing terms, and direct booking details.
- Lead with one striking image and a single sentence headline, then group portfolio samples by intended use rather than chronology.
- Offer two or three named packages, with each usage line listing term, territory, and permitted media; identify paid advertising as separately licensed.
- Use a PDF for a one time pitch or requested forwardable document, but choose a hosted kit for ongoing outreach and automatic updates.
- Choose responsive hosting for video, embedded galleries, or private password protected previews; keep PDFs under 10MB and export them at around 150 dpi.
PhotoViewKeep Your Photography Portfolio CurrentPhotoView helps photographers curate finished photos and videos, publish responsive portfolios, and keep live website embeds updated from one dashboard.Visit PhotoView
Table of Contents
- Essential pages every photography media kit needs
- Where to find templates and how to pick the right one
- Design and layout best practices photographers must follow
- Where to host and how to deliver your media kit
- How to present pricing and licensing without legal complexity
- Quick, copy-ready one-page template and checklist
- Author perspective: the value of live, multimedia media kits
- PhotoView: an option to host and publish media kits and portfolios
- FAQ
- Sources
Essential pages every photography media kit needs
Every strong media kit follows a similar backbone. Brands and ad buyers expect to see audience context, package options, and clear channel details, a structure echoed in professional kits like the PPA media kit, which organizes offerings into packages and sponsorship tiers rather than a single flat rate.
For a photographer, that backbone translates into six pages:
- Cover/hook: your name, specialty, and one headline that states your value, such as “Editorial and commercial photography for outdoor brands.”
- About/bio: three or four sentences on your style, experience, and the kind of client you serve best.
- Portfolio samples: eight to twelve curated images, each captioned with its intended use (editorial, social hero, product detail).
- Offerings and packages: two or three scalable bundles, such as “Social Package” or “Campaign Package,” instead of a single price list.
- Rate card and usage summary: a short line stating term, territory, and permitted media for each package.
- Contact and booking: your preferred contact method, response time, and a direct booking link.
Keep the whole document tight. A buyer skimming between meetings should understand who you are and what you offer within thirty seconds of opening it.
Where to find templates and how to pick the right one
Media kit templates generally come in three formats: a static PDF, an editable slide deck, or a hosted online presentation. Canva’s media kit templates cover both digital and print designs, including photo-centric layouts built for creators, and they’re a practical starting point if you want something polished without starting from a blank page.
Canva-style templates work well when you need something fast, but a template only looks bespoke once you’ve swapped out the generic placeholders. Before sending anything, replace:
- The sample images with your own curated set, not stock photography.
- The color palette, matched to your logo or brand identity.
- The headline, rewritten around your specialty and ideal client.
- The short bio, written in your own voice rather than a generic placeholder.
- The rates, updated to reflect your current packages.
If your work includes video or mixed media, a static template limits you. A responsive, publishable template built for multimedia lets a single kit hold stills, video, and embedded galleries without forcing you into a page-count limit.
Design and layout best practices photographers must follow
A media kit is judged in seconds, so the opening page carries the most weight. Lead with one striking image and a single-sentence headline. Resist the urge to stack three images and two taglines on the cover; one clear statement reads faster and looks more confident.
Curate the rest of the samples by use case rather than chronology. Group images as editorial, social hero, or product detail, and label each one so a brand can picture exactly where it fits in their own content calendar. This kind of intentional labeling also reflects how brands tend to favor imagery that feels observed and authentic over staged compositions, a point worth keeping in mind when you choose which shots make the cut.
Typography should stay simple: one display font for headlines, one readable font for body text, and generous white space so the PDF or slide doesn’t feel cramped on a phone screen. Present your rate card as a short comparison of named packages rather than a dense table of line items. For more on structuring visual sequences that hold attention, this visual storytelling guide breaks down pacing and image order in a way that applies directly to media kit layout.
Pro Tip: Export your final PDF at a web-optimized resolution, around 150 dpi, and keep the file under 10MB so it doesn’t bounce from email attachments.

Where to host and how to deliver your media kit
An attached PDF still works well for a quick, one-off pitch, especially when a client specifically asks for a document they can forward internally. But a hosted online presentation holds up better for ongoing outreach, since it updates from a single source instead of requiring you to re-export and resend a new file every time your portfolio changes.
Live embeds solve a specific problem: once your kit is linked rather than attached, every recipient always sees your newest work. Platforms that support portfolio embedding on an existing site, or direct Lightroom publishing, remove the extra step of manually swapping images in a static document.
For sensitive previews, private share links with password protection let you send work to one client without making it public.
A simple workflow covers most situations:
- Prepare your pages and confirm every caption and rate is current.
- Export a PDF for quick email delivery, or publish a hosted link for ongoing use.
- Send it with a one-line pitch that states exactly why you’re reaching out.
How to present pricing and licensing without legal complexity
Package-based pricing simplifies the decision for whoever is reviewing your kit. Instead of a single day rate, offer two or three named bundles, each scoped to a type of project, so a marketing manager can match their budget to a package rather than negotiating from scratch.
Each package should state usage terms in one line: the term, the territory, and the permitted media. A usable example reads: “Usage: digital and social, 12 months; paid advertising requires a separate negotiated license.” Call out paid advertising separately since it typically commands a different rate than organic or editorial use.
Editorial and commercial usage aren’t interchangeable. Editorial imagery illustrates a story and generally carries narrower usage rights than commercial images licensed for advertising and sales, so stating which category your images fall under protects you from unintended re-use.
- State whether each package is editorial or commercial use.
- Note model and property releases when people or private property appear in the frame.
- Add a short clause: “Model release on file for all people pictured” when applicable.
Quick, copy-ready one-page template and checklist
For a kit you can build today, follow this order:
- Cover: name, specialty, one headline.
- Bio: three sentences on your style and ideal client.
- Samples: six to ten captioned images.
- Packages: two or three named bundles with scope.
- Usage line: term, territory, media type.
- Contact: email, booking link, response time.
Adapt copy like “Commercial and editorial photography for hospitality brands” for your cover, or “Social Package: 10 edited images, usage for 6 months, digital and social” for a package line. Export as a PDF named with your name and the current year, and keep a second, hosted version for ongoing outreach.
Author perspective: the value of live, multimedia media kits
A static PDF freezes your best work at the moment you exported it. A live, hosted kit keeps pace with your actual output, which matters most when a brand is comparing several photographers and timing is tight. Centralizing updates in one place saves the re-export cycle and tends to convert faster because every link a prospect opens shows your current work, not last year’s.
— Mitch Russo
PhotoView: an option to host and publish media kits and portfolios
When a static PDF starts feeling like extra maintenance, a hosted platform solves the update problem directly. Photographers can publish straight from Lightroom, choose from responsive templates, and keep embedded galleries current from one dashboard instead of juggling multiple files.
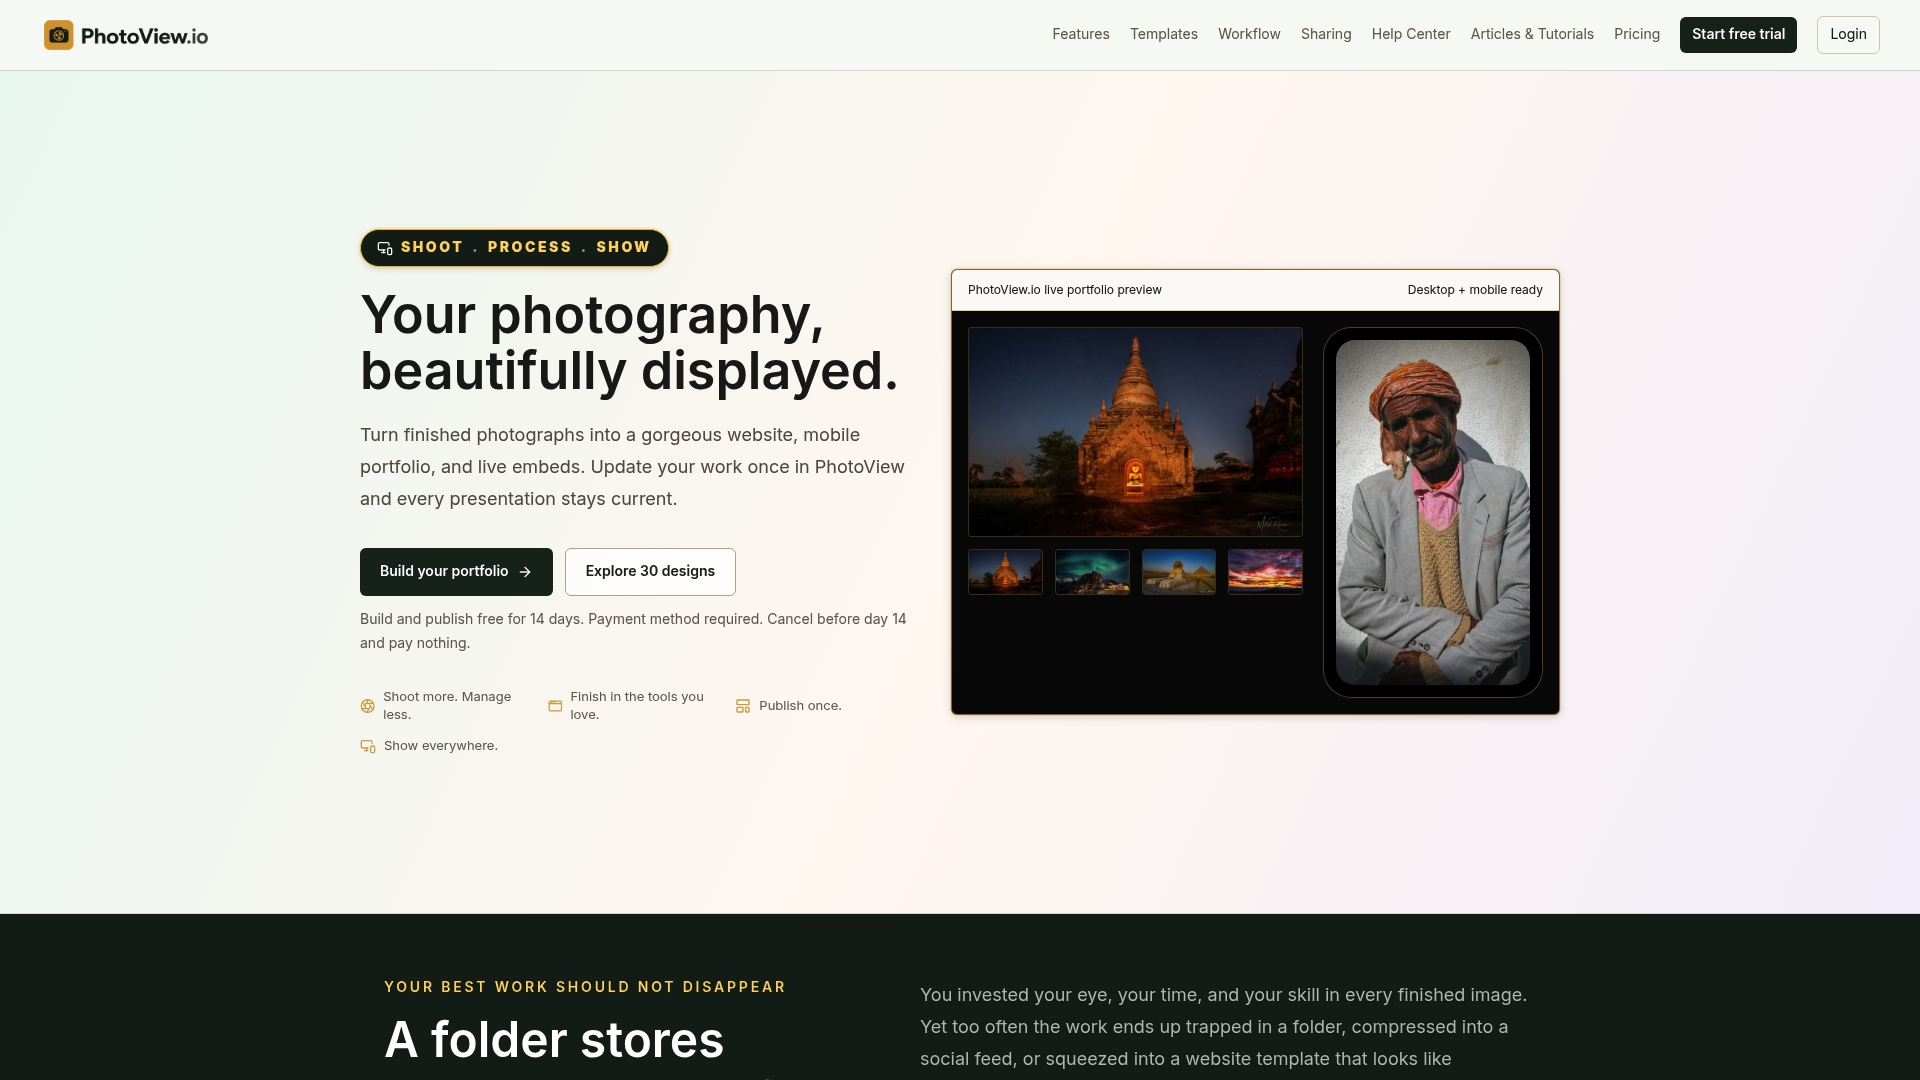
A dashboard can support private sharing for client previews and live embeds for your existing website, so your media kit updates everywhere at once rather than in pieces. A hosted kit makes the most sense once you’re sending your portfolio regularly, whether to brands, agencies, or publications, and want every recipient to see your latest work automatically.
- Publish and update galleries directly from Lightroom without re-exporting files.
- Choose from responsive templates designed for multimedia, including stills and video.
- Share private previews with password protection before a kit goes public.
See current plans on the PhotoView homepage, which lists Starter, Growth, Studio, and Premier options by storage volume.
FAQ
What is the “20/60/20 rule” in photography?
There’s no single, widely recognized definition of a “20/60/20 rule” tied to media kits or portfolio curation, so treat any version you encounter as a rough guideline rather than an industry standard. A more reliable approach is to curate samples by intended use, such as editorial, social hero, and product detail, and let your strongest images carry the opening and closing of your kit.
What should a media kit include?
A photography media kit should include a cover with a clear headline, a short bio, curated portfolio samples captioned by use case, named service packages, a brief usage and licensing line, and contact information. Professional kits also tend to include audience or channel context when the kit is aimed at brand or publication partnerships.
What is the best photography kit for beginners?
A beginner-friendly starting point is a one-page PDF built from a customizable template, since it keeps the scope small while you figure out which samples and packages represent your work best. Canva’s media kit templates offer free, photo-centric layouts that work well for a first version before you move to a hosted format.
What is the difference between a press kit and a media kit?
A press kit and a media kit overlap heavily, but a press kit usually leans toward journalists and publications with a focus on story angles and bios, while a media kit leans toward brands and advertisers with a focus on packages and rates. For photographers, the practical difference matters less than making sure the usage terms, editorial versus commercial, are clearly stated either way.
Sources
- Editorial Photography: The 2026 Guide for Brands
- Free and customizable media kit templates
- Download the PPA Media Kit